Duration
6 Days / 5 Nights
Starting From
₹23,999 / person
Destination
Kathmandu & Pokhara, Nepal
Overview
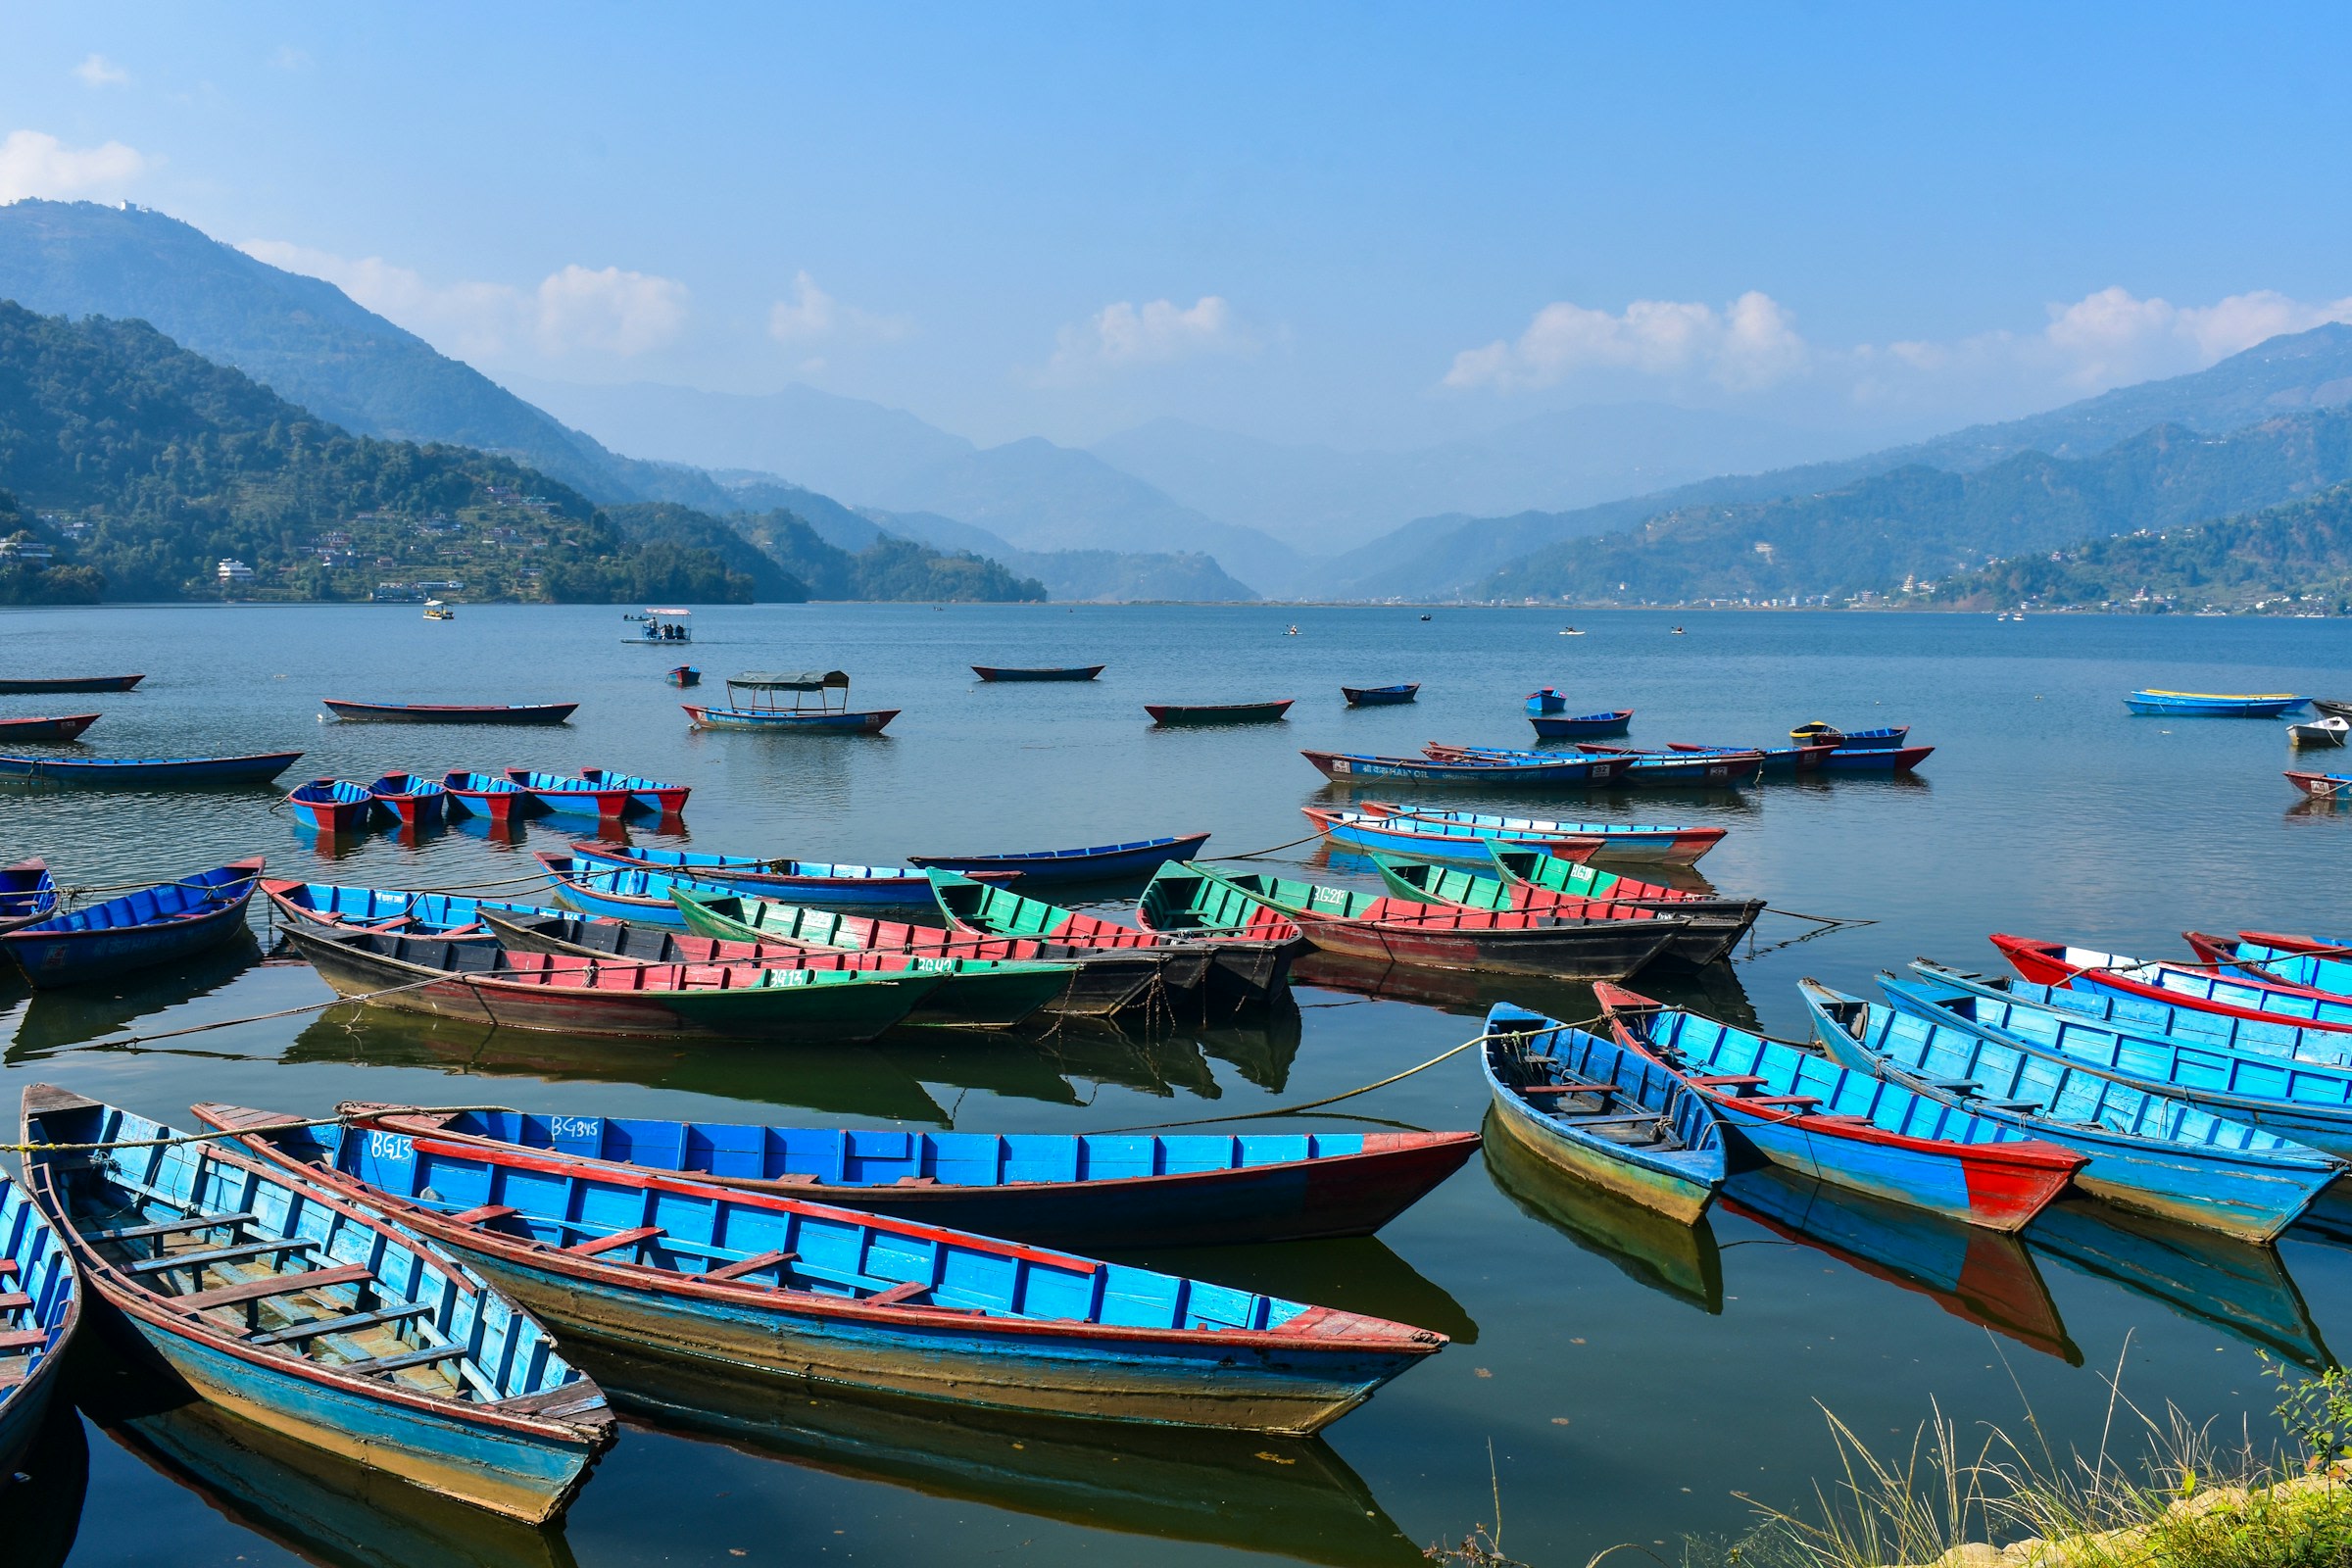
“Gaze upon the Annapurna range reflected in Phewa Lake and explore UNESCO World Heritage shrines in the Kathmandu Valley.”
An awe-inspiring 6-day journey across the spiritual and natural treasures of Nepal. Highlights include Pashupatinath Temple, Boudhanath Stupa, Sarangkot sunrise, and boating on Pokhara's Phewa Lake.
Inclusions
- 3/4-Star Hotel Stays
- Daily Breakfast
- Private AC Vehicle for All Sightseeing
- Kathmandu Heritage Temple Tour
- Pokhara Boating & Sarangkot Sunrise Tour
- English/Hindi Speaking Driver Guide
Exclusions
- Flights to Kathmandu
- Monument Entrance Fees
- Adventure Activities (Paragliding, Ultralight)
- Personal Expenses
Itinerary
- 1
Arrival in Kathmandu Valley
Touch down at Tribhuvan International Airport, meet your representative, and check in. Evening visit to lively Thamel.
- 2
Kathmandu UNESCO Heritage Trail
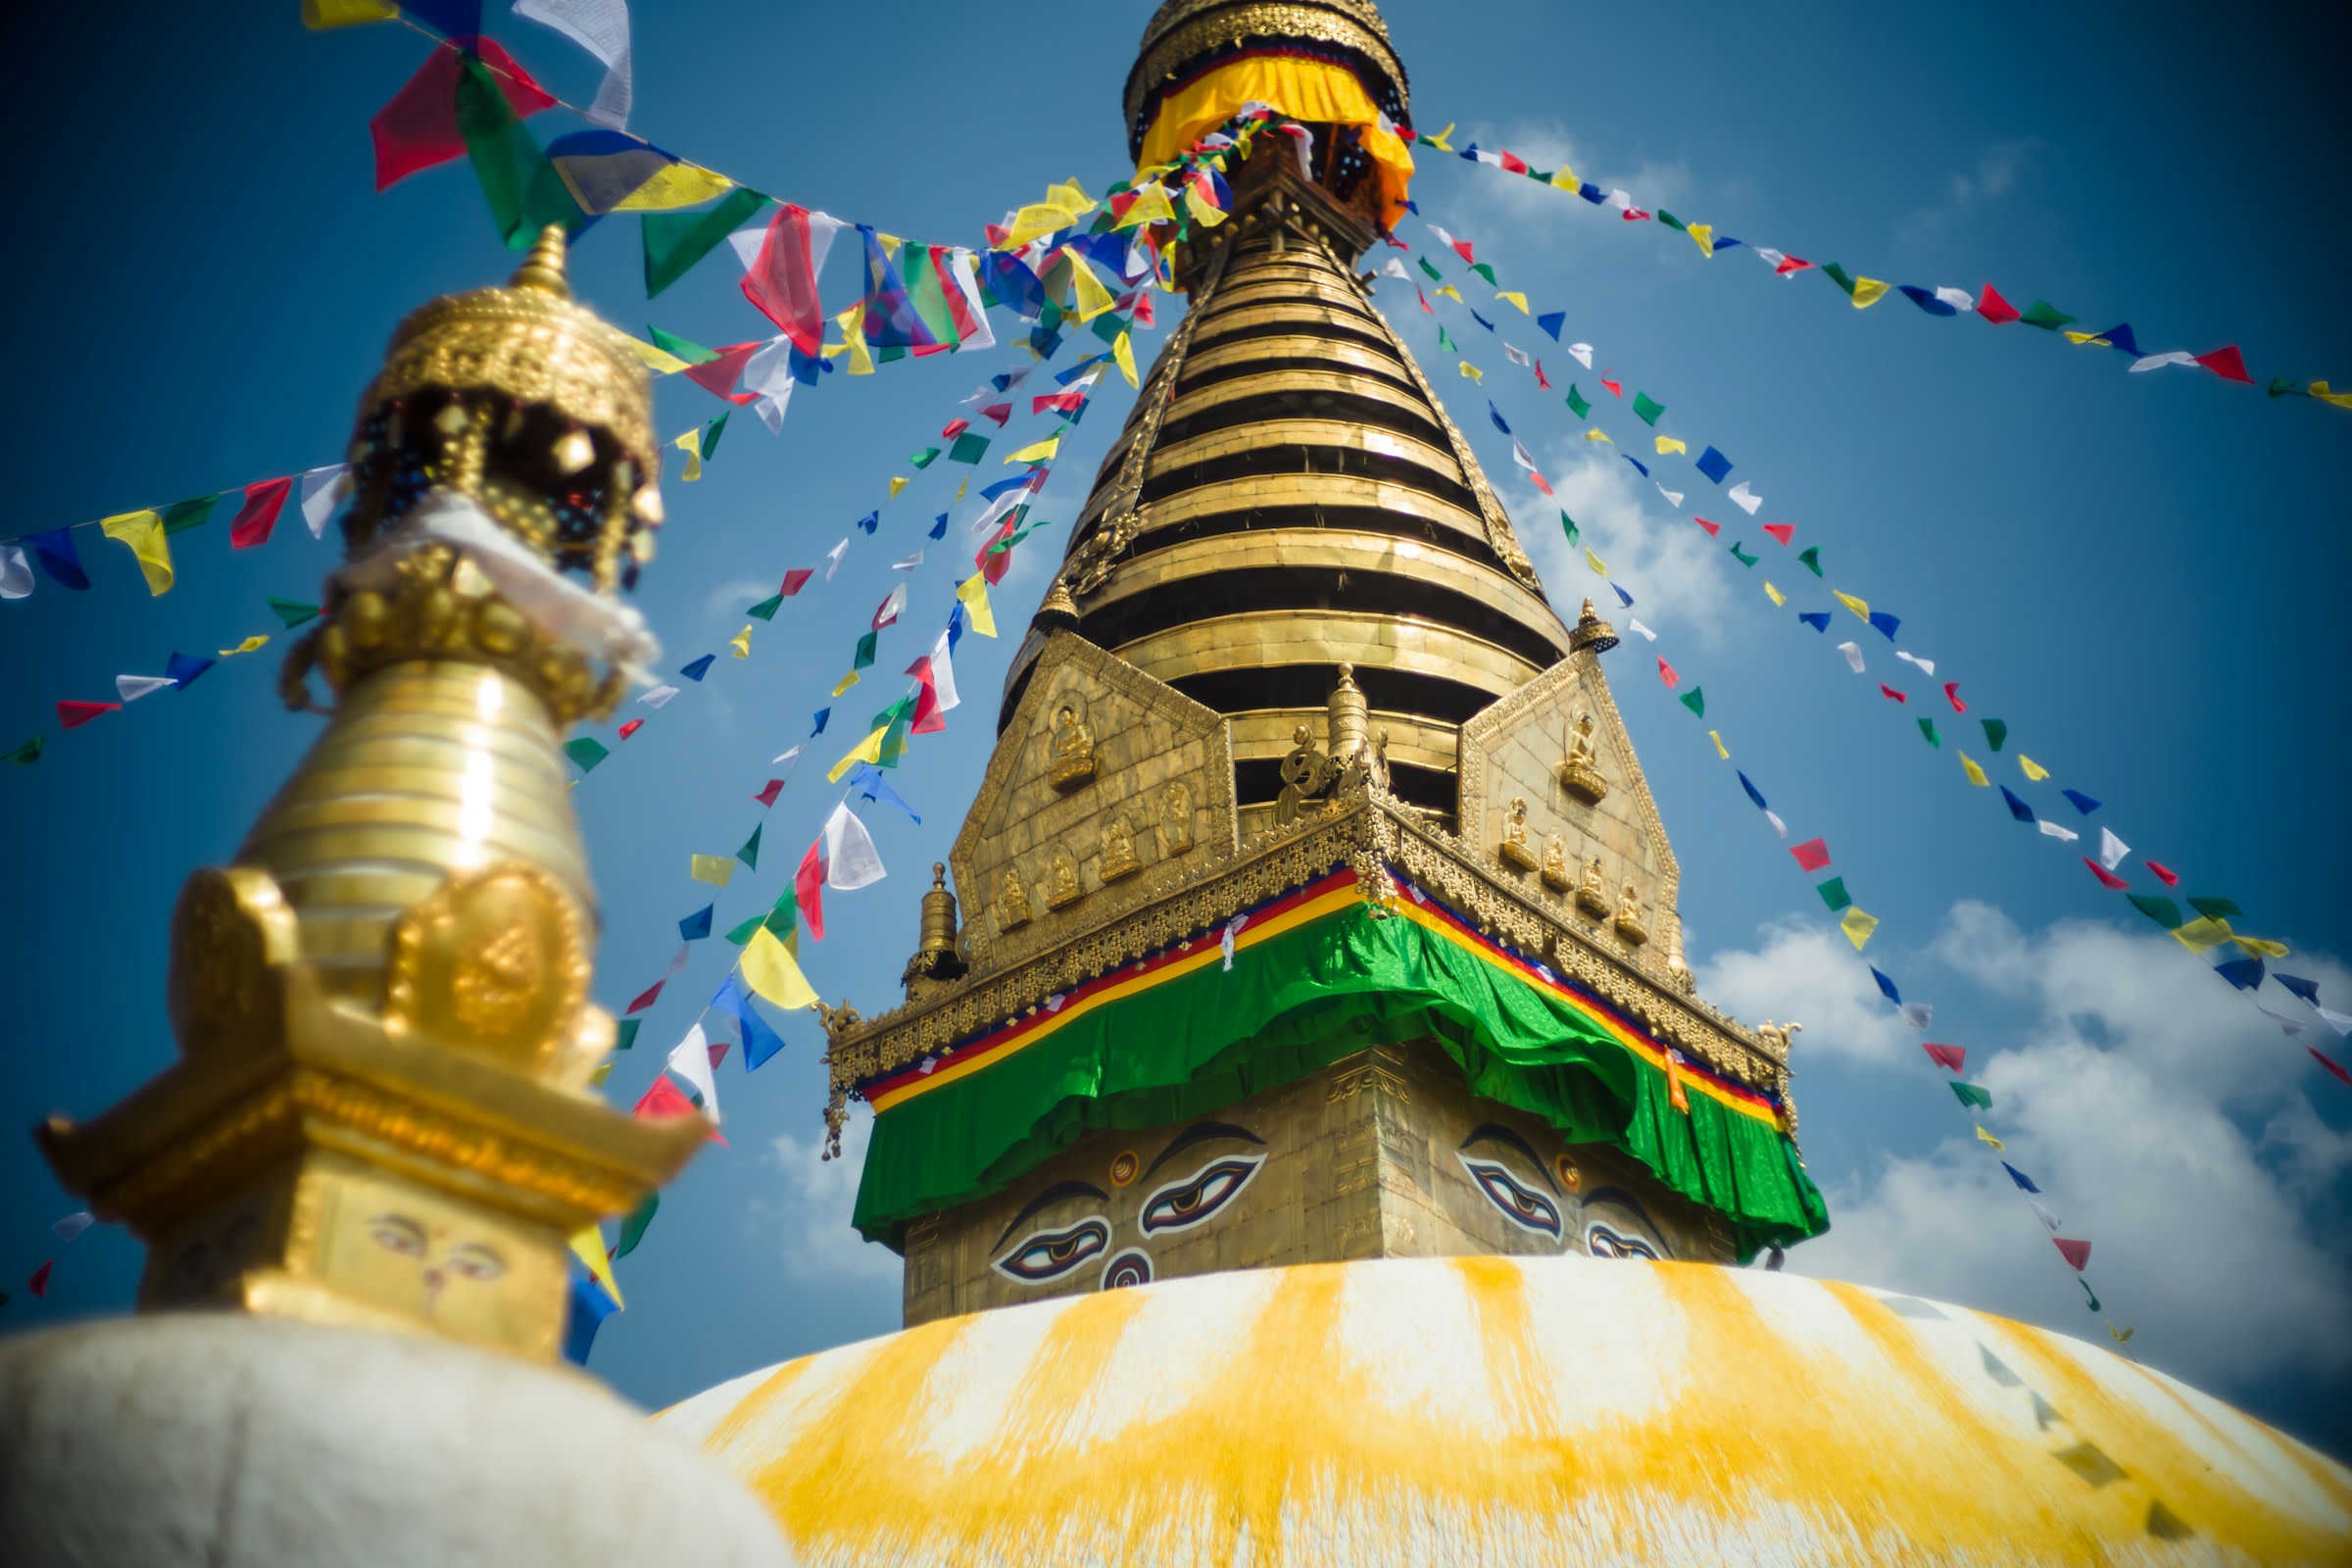
Tour sacred Pashupatinath on Bagmati river, the giant eyes of Boudhanath Stupa, and hilltop Swayambhunath (Monkey Temple).
- 3
Scenic Drive to Serene Pokhara
Drive along the Trishuli River to the valley of Pokhara. Check into your hotel and enjoy evening lakeside walks.
- 4
Sarangkot Sunrise & Pokhara Wonders
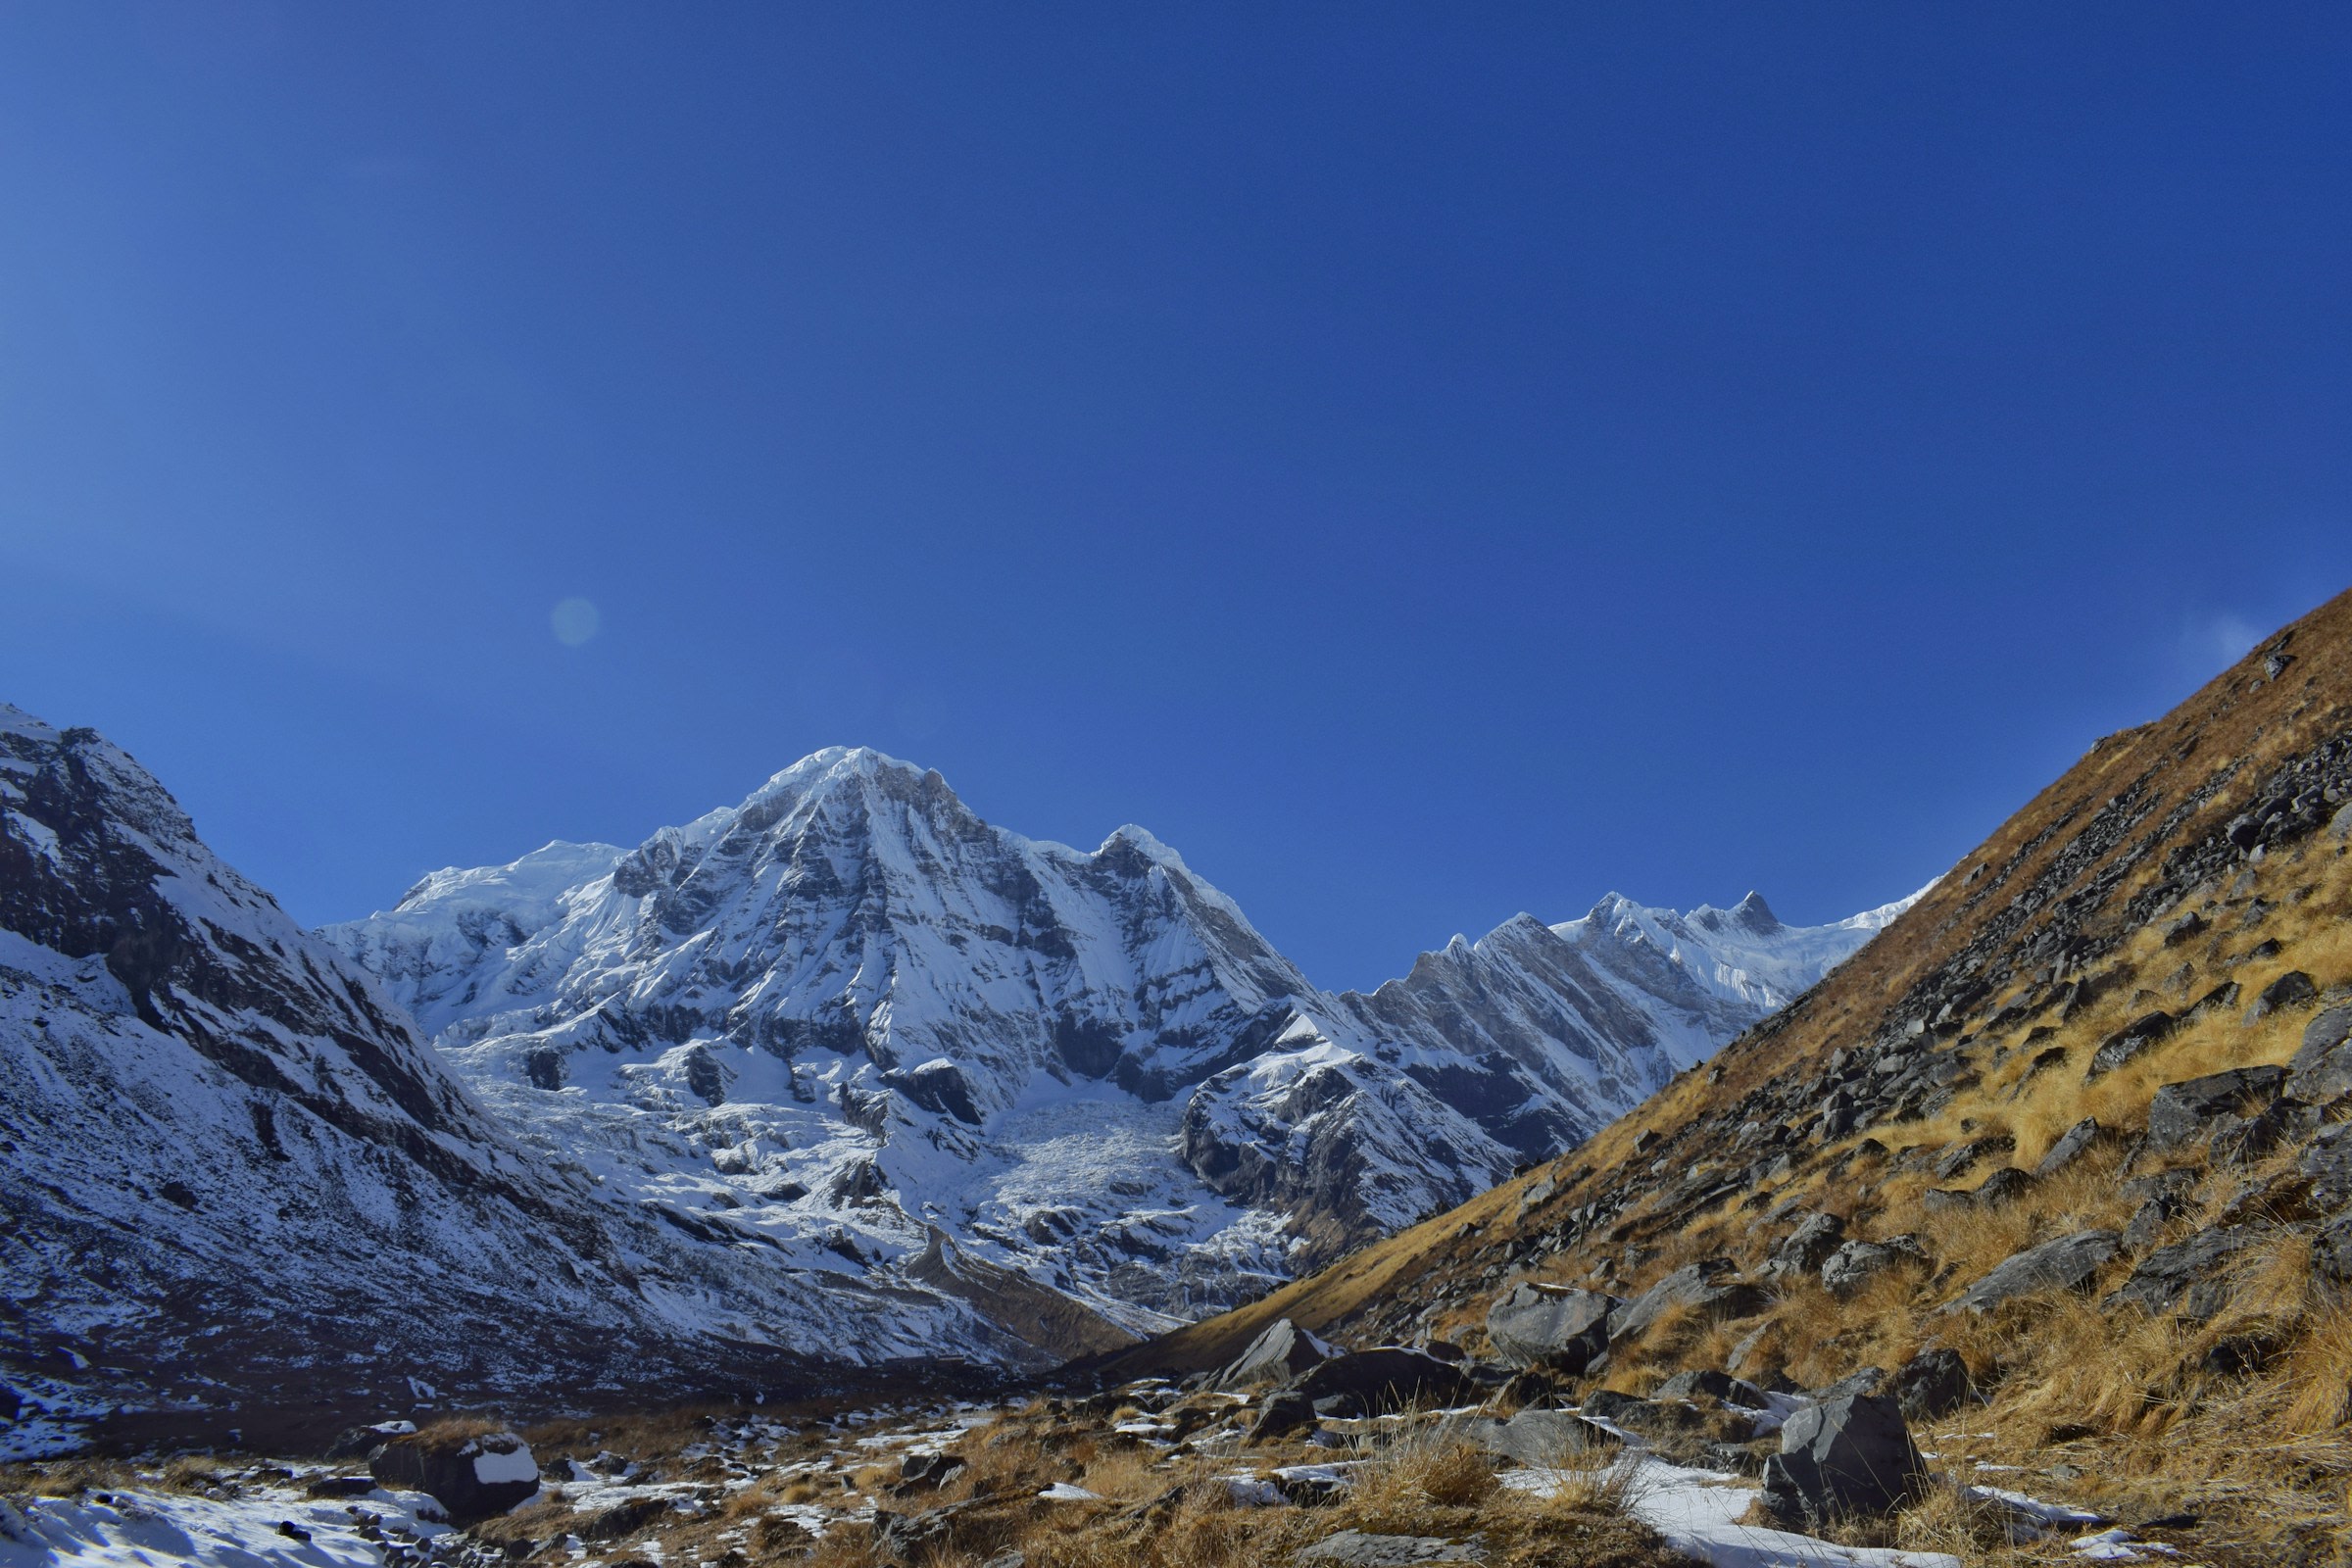
Early morning drive to Sarangkot for sunrise over Annapurna and Dhaulagiri. Visit Davis Falls, Gupteshwor Cave, and boat on Phewa Lake.
- 5
Return to Kathmandu & Bhaktapur
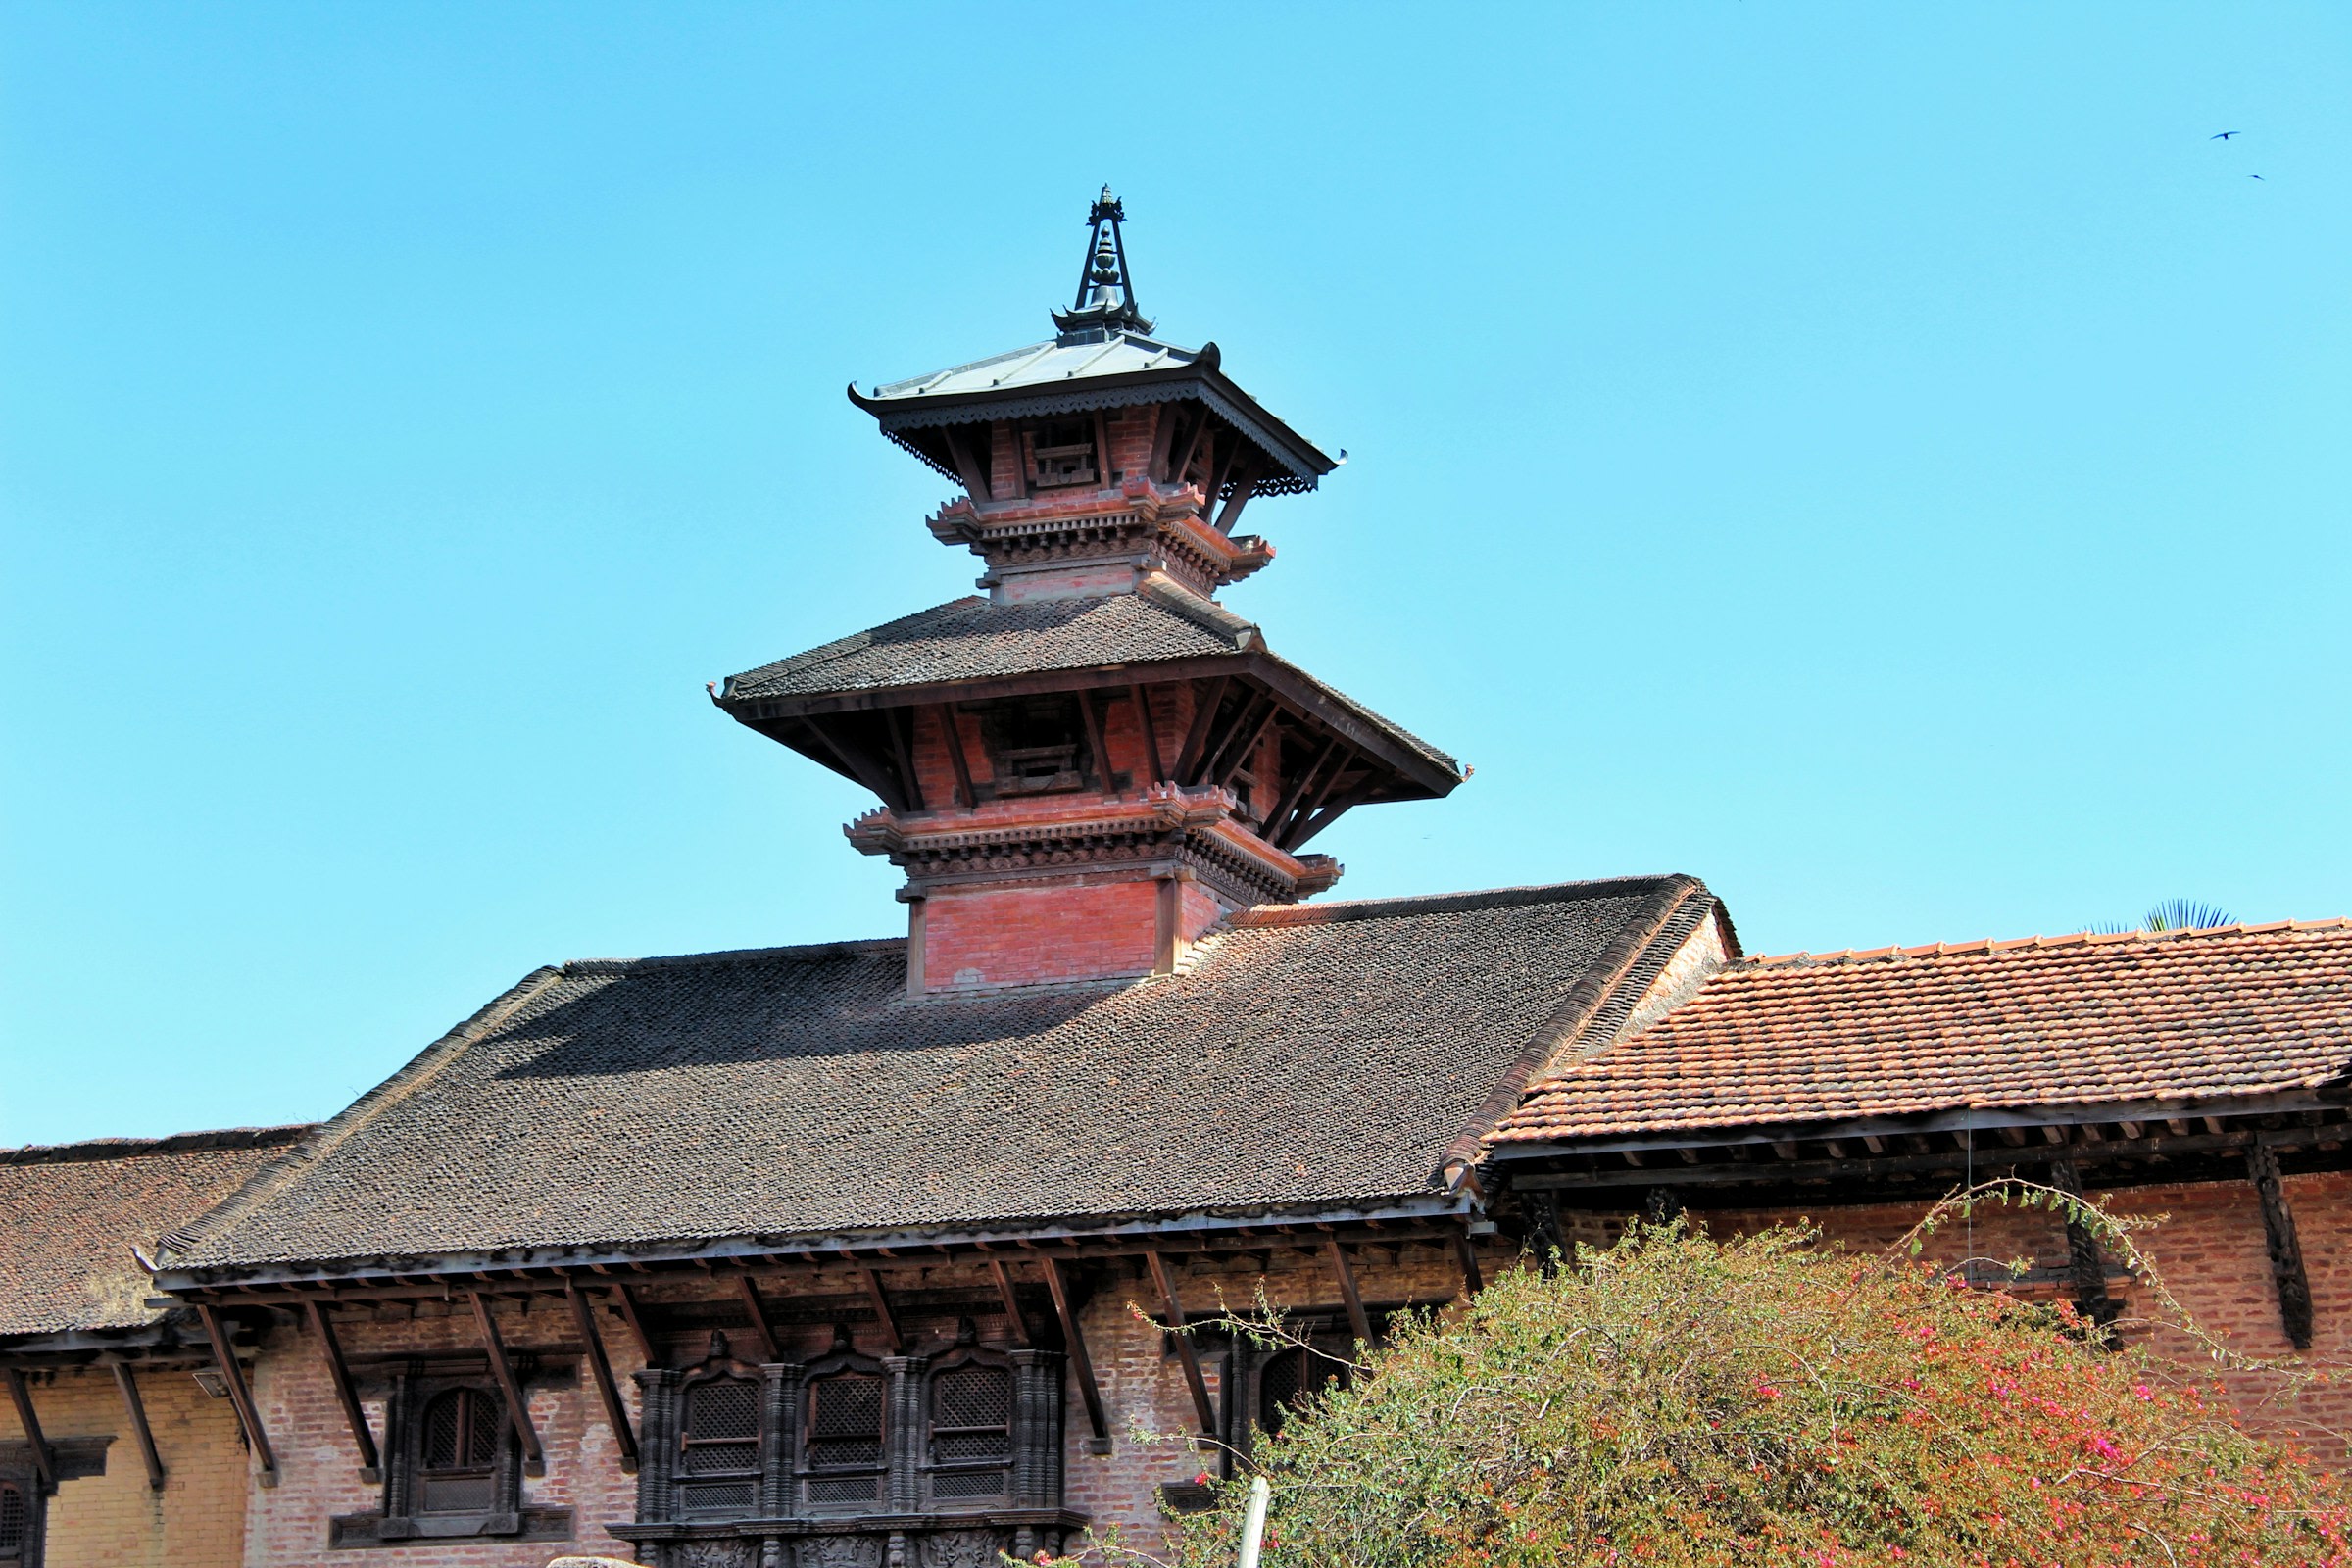
Drive back to Kathmandu. Stop at the ancient medieval town of Bhaktapur Durbar Square to admire intricately carved wood architecture.
- 6
Departure
Transfer to Kathmandu Airport for your homeward journey.
Gallery